How to sell digital products from your Instagram bio
By Tayyab, founder of biolio3 min read
Instagram doesn't put clickable links in post captions, so your bio is where people go to buy. If you sell an ebook, a preset pack or a set of templates, you need two things: a payment page that takes the money, and a bio link that gets people to it quickly. Here's how to set both up.
Key Takeaways
- Put each product on a payment page you control (Gumroad, Payhip, Lemon Squeezy or a Stripe payment link) before you touch your bio.
- Instagram allows up to five profile links, but only the first shows without a tap, so most sellers use one link-in-bio page.
- Keep products in their own section, with prices, so they don't get lost among your other links.
- Check what your bio tool takes from each sale; some free plans take 9% to 12%.
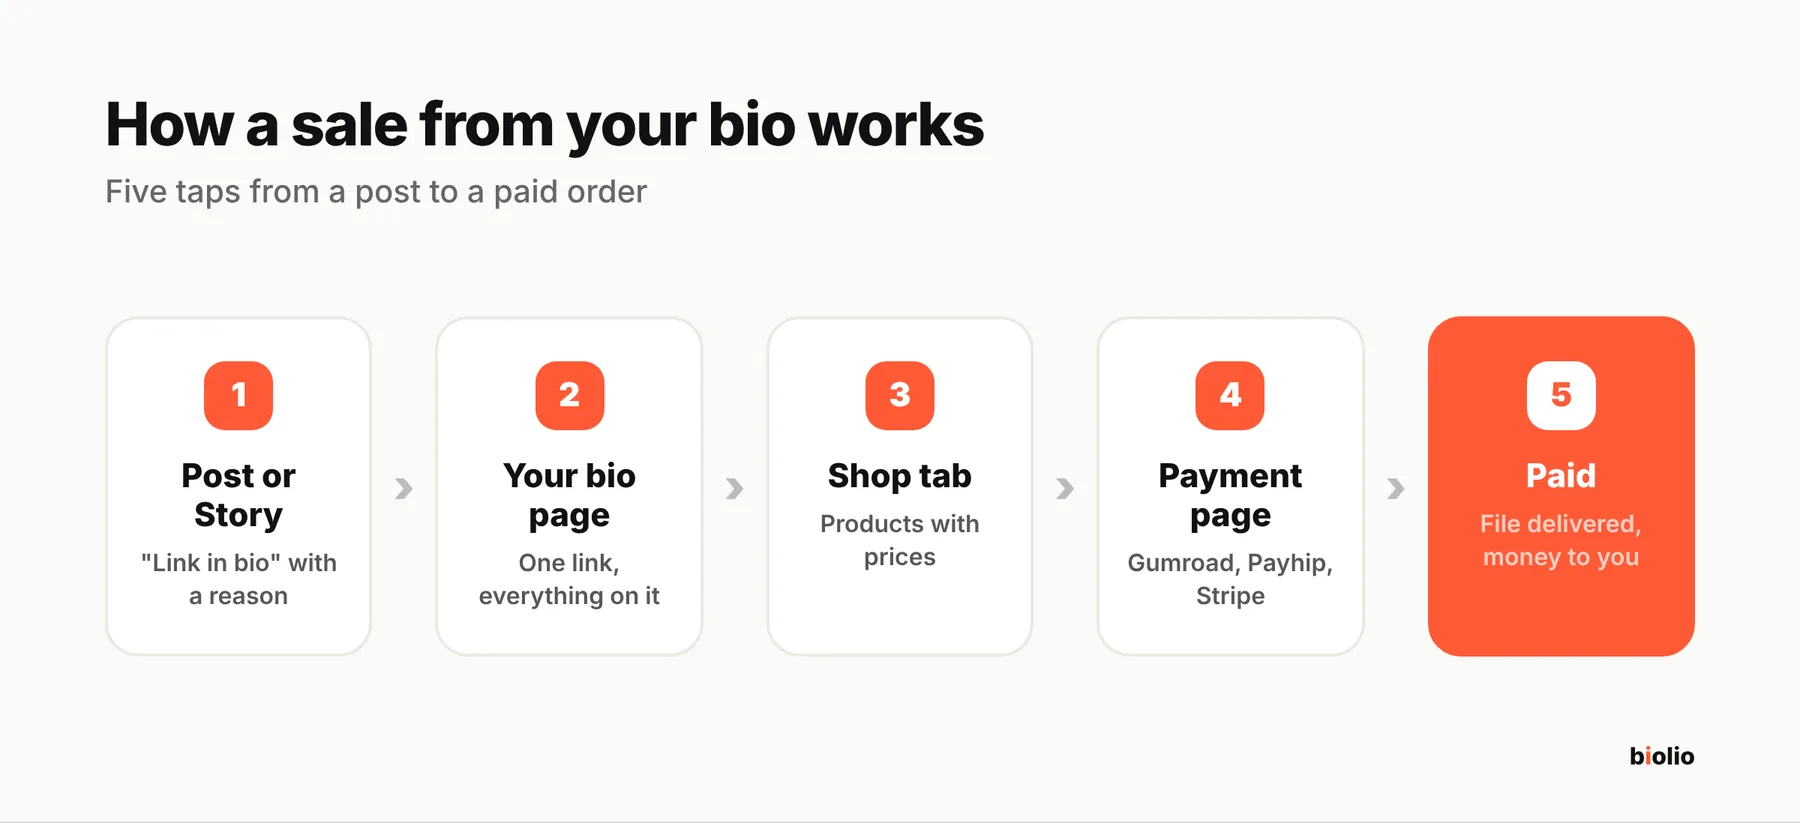
1. Put your product on a payment page you control
You need a place that takes payment and delivers the file. Gumroad, Payhip, Lemon Squeezy and a Stripe payment link all do this. Each gives you a link that opens a checkout.
Create a product page with a clear title, a price and a short description of what's inside. Buy it once yourself to test the checkout and the download, then refund the order.
2. Point your bio to one page with everything on it
Since April 2023, Instagram lets you add up to five links to your profile. Only the first one shows, shortened, with a note saying how many more there are; people tap to see the rest (Engadget). That's why most sellers use a single link-in-bio page that holds their products, links and contact options.
On that page, put your main product near the top with its price on it. People skip what they have to hunt for. Our checklist of what to put in your link in bio covers the rest of the page.
3. Keep products separate from everything else
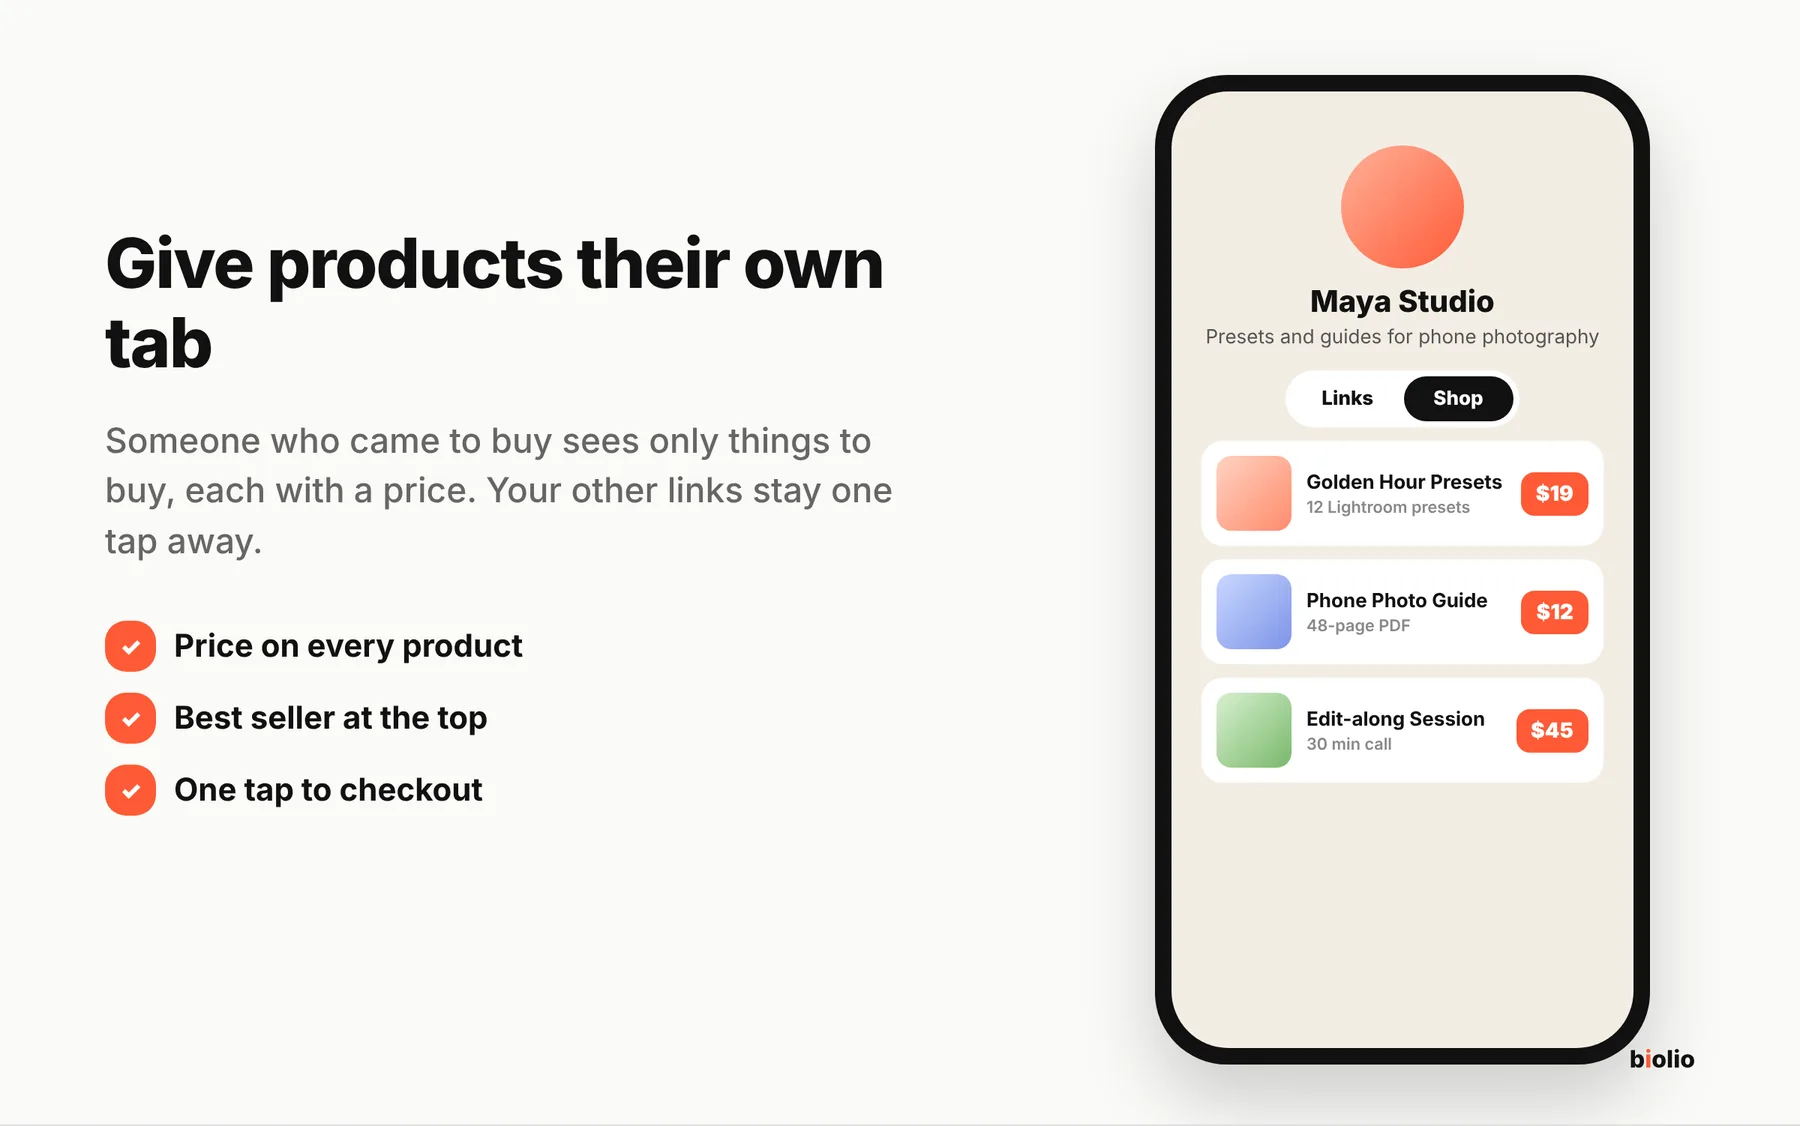
In one long list of links, products get lost. Use a page that gives products their own section or tab, so someone who came to buy sees only things to buy.
4. Say "link in bio" with a reason
Tell people what they'll find and why now: "The 30-day plan is in my bio, $19 this week." Pin a post or story highlight that shows the product.
5. Collect emails from people who aren't ready yet
Most visitors won't buy on their first visit. An email signup lets you tell them when you launch something new. Apps change what your followers see; an email list stays yours.
6. Check what people tap
Once a week, look at your clicks. Move the product that gets attention to the top and remove links nobody uses.
7. Know what your tools take from each sale
Some link-in-bio tools take a share of every sale on their free plans: 12% on Linktree's free plan and 9% on Beacons' (Linktree pricing, via Replug, checked October 2026; Beacons help center). Payment processing comes on top; Stripe charges 2.9% + $0.30 per sale. Our link in bio fees comparison puts the main tools side by side.